Introduction
Whew! Final lesson! You can do it! This lesson is going to be all about editing your photo, and how to reduce the amount of photoshopping in the first place. What are we waiting for? Let’s get started!
Section 1
Editing photos can be crazy and extremely untidy. Platforms like Snapseed give a great beginners editing platform, which takes all the overzealousness out of photoshopping and editing. But if you really want to get into the whole gist of photoshopping, you need professional software like Capture One and Adobe Photoshop. But most cameras have a tiny photoshopping software in-built, where you can control the less technical parts of your photograph, like tinting, or cropping. This tiny feature is really effective because it doesn’t always make everything look unrealistic, since the software has to focus on less aspects of your photograph. This is probably the most effective part of photoshopping, and probably also the best.
Section 2
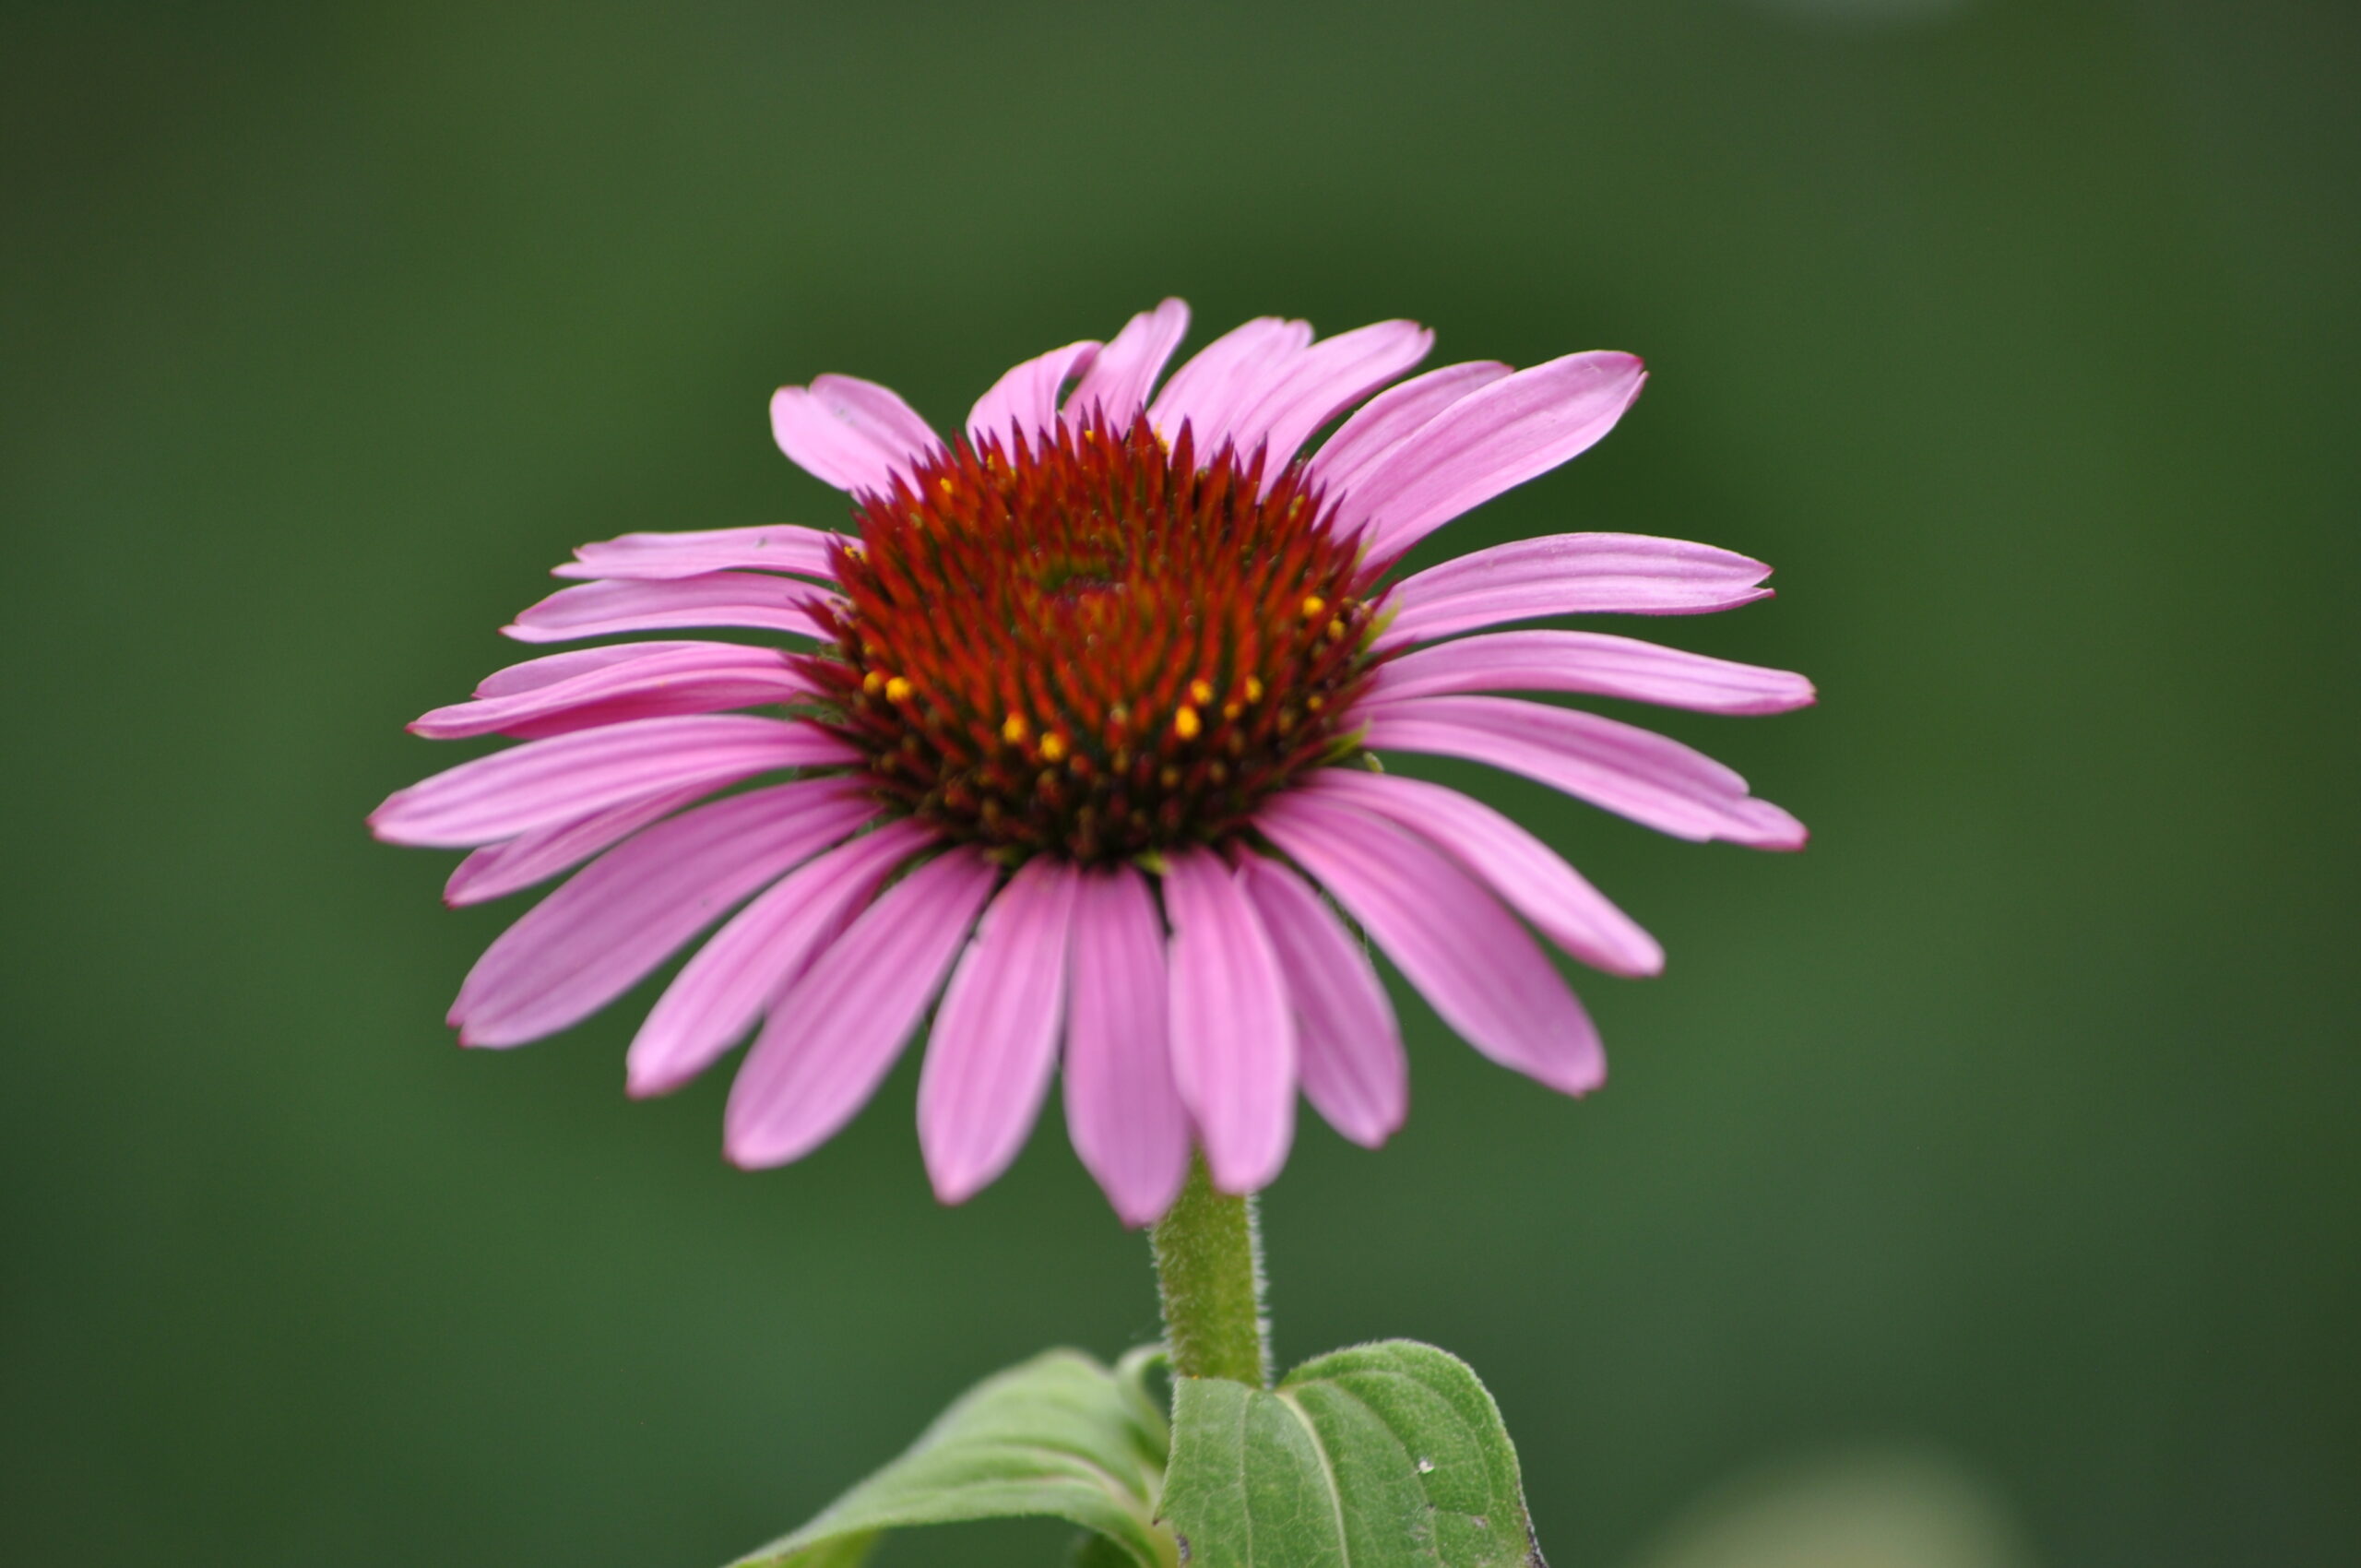
The first part of editing photos is tinting and cropping. Something about tinting is that you can get it to be more into your theme than the whole photograph itself. Say you photographed a picture of a giant field of Lupin. Then a possible tint to give it would be in a lighter pinkish zone. This would relate to the purplish colour of the Lupin and give your photo a warm and relating feel to it. Cropping, on the other hand, is useful when taking, say, portraits. If you have a picture of someone’s whole body, but you want to crop it to only their upper body, a great place to crop to would be the waistline. This technique usually won’t cut off right at any joints (elbows, knees, hips, etc.(which is a big no-no in photoshopping)) and gives your photograph a great base.
Section 3
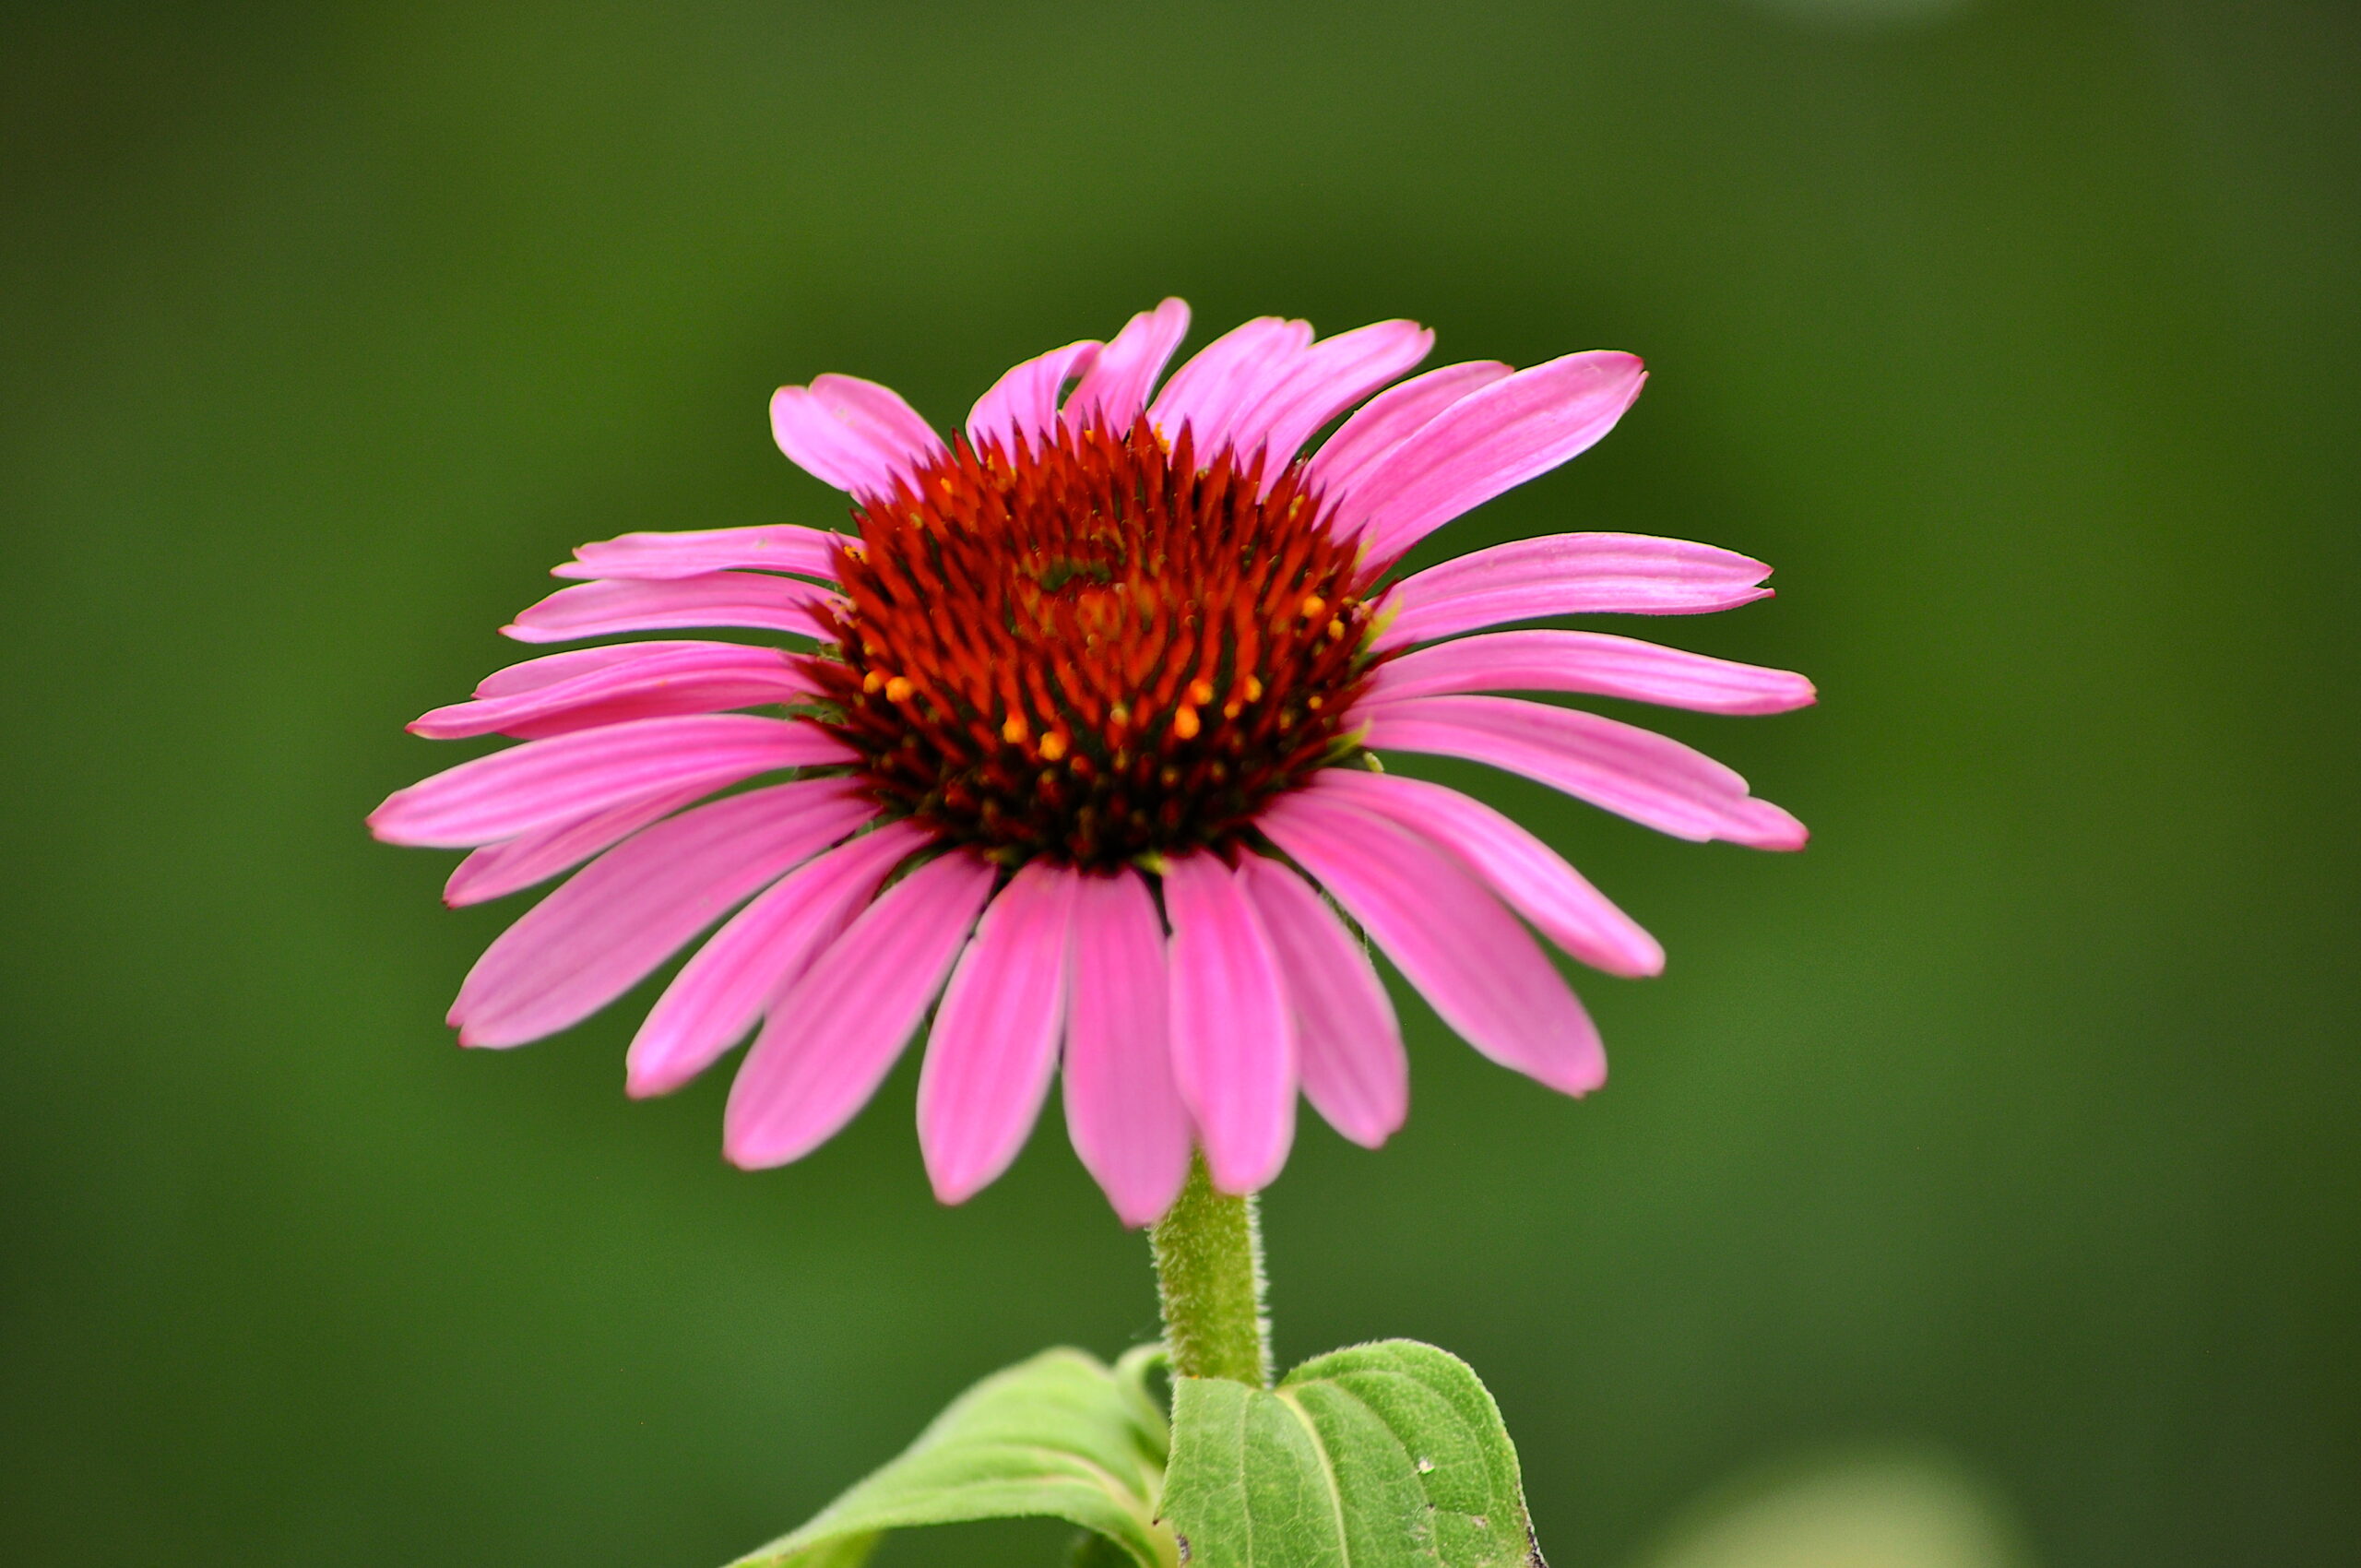
The next part of photoshopping is the brightness and light fixtures. The brightness of your picture can make a big difference in what the photo looks like. Say a picture of a flower you just took is in super high lighting. Then, you should probably customize the brightness of the photograph should be lower, to balance out the way the photo looks. But lowering the brightness too much can deeply affect the contrast of the photograph, which can make a well-made picture look like a painting. If you took the picture in darker circumstances though, you should obviously raise the brightness a little bit higher. This is the more difficult part of editing brightness since too much light in the picture can white out most of your photo. Also, if you took a picture in complete blackness, then no amount of brightness can fix the picture, since there isn’t any light in the photo in the first place. But, you can skip all this work if you just get a good angle away from the sun in the first place or use a diffuser.
Conclusion
Congrats! You’ve finished this course on beginning photography! Remember to continue to Course 2, which will go a little bit more in depth to the fundamentals to photography.
Leave a Reply